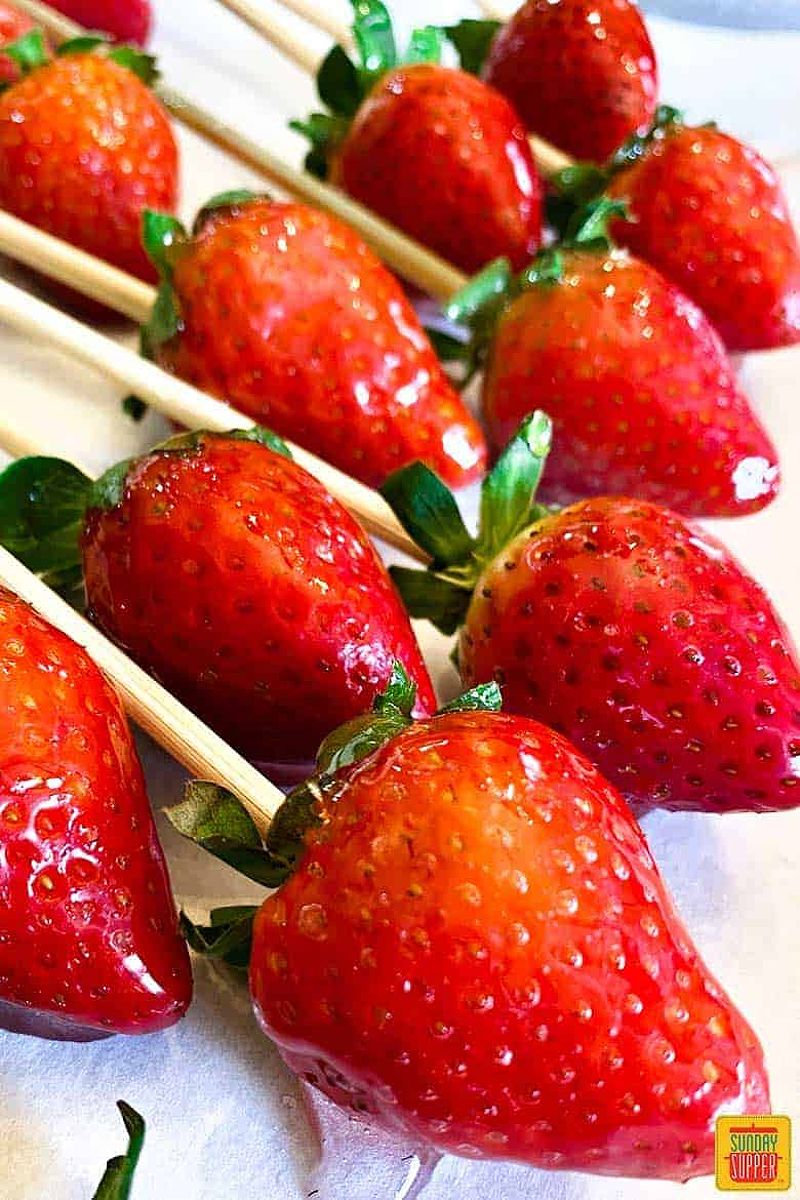
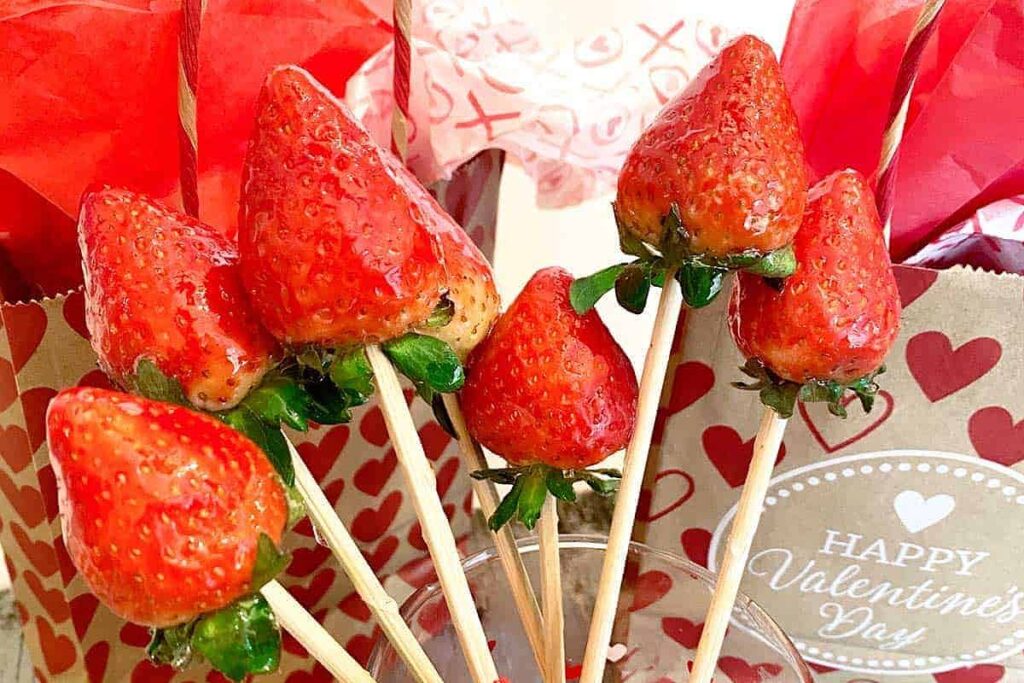
As the sun-kissed days of summer dance across the landscape, there’s one irresistible treat that captures the essence of the season — candied strawberries. Imagine biting into a perfectly ripe, juicy strawberry, only to be greeted by a captivating crunch as your teeth break through the shimmering candy shell. It’s a sensory experience that transports you to a realm of pure indulgence, where the sweetness of the fruit and the crisp, caramelized coating harmonize in delightful perfection.
I’ve always been drawn to the allure of candied strawberries, with their vibrant hues and their ability to elevate any dessert or snack. Growing up, I fondly remember the first time I encountered these enchanting confections, their shiny surfaces glistening like gems under the warm sunlight. It was love at first sight, and ever since then, I’ve been on a quest to master the art of how to make candied strawberries in my own kitchen.
Unlocking the Secrets of Candy-Coated Perfection
Crafting candied strawberries is a true culinary adventure, one that blends the science of sugar with the art of precise timing and technique. The journey begins with the selection of the freshest, ripest strawberries, their crimson hues beckoning to be transformed into something truly extraordinary.
As I delve into the process, I’m captivated by the intriguing history of these captivating treats. Tracing their origins to the traditional Chinese snacks known as “Tanghulu,” candied strawberries have long been a beloved delicacy, capturing the hearts and taste buds of dessert enthusiasts around the world. Their ability to delight both children and adults with their irresistible combination of sweet, juicy fruit and crisp, shimmering candy coating is simply mesmerizing.
Mastering the Candy Coating: A Delicate Dance with Sugar
The key to crafting the perfect candied strawberry lies in the art of creating the flawless candy coating. It’s a process that requires a deep understanding of the science behind sugar and the critical “hard crack” stage — the temperature range where the sugar syrup reaches the ideal consistency for coating the berries.
As I carefully monitor the temperature of the bubbling sugar mixture, I’m reminded of the delicate balance that must be struck. The evaporation of water content and the precise concentration of sugar are crucial factors, as any misstep could result in a grainy or crystallized texture. This is where the addition of a small amount of corn syrup proves invaluable, helping to disrupt the formation of large sugar crystals and ensuring a smooth, glossy finish.
With a candy thermometer by my side, I meticulously guide the sugar syrup through the “hard crack” stage, that magical temperature range between 300°F (149°C) and 310°F (154°C) where the coating achieves the perfect consistency. It’s a dance of precision, where every second counts, and the slightest hesitation can mean the difference between a triumphant success and a heartbreaking disappointment.
How to Make Candied Strawberries: Dipping and Delighting
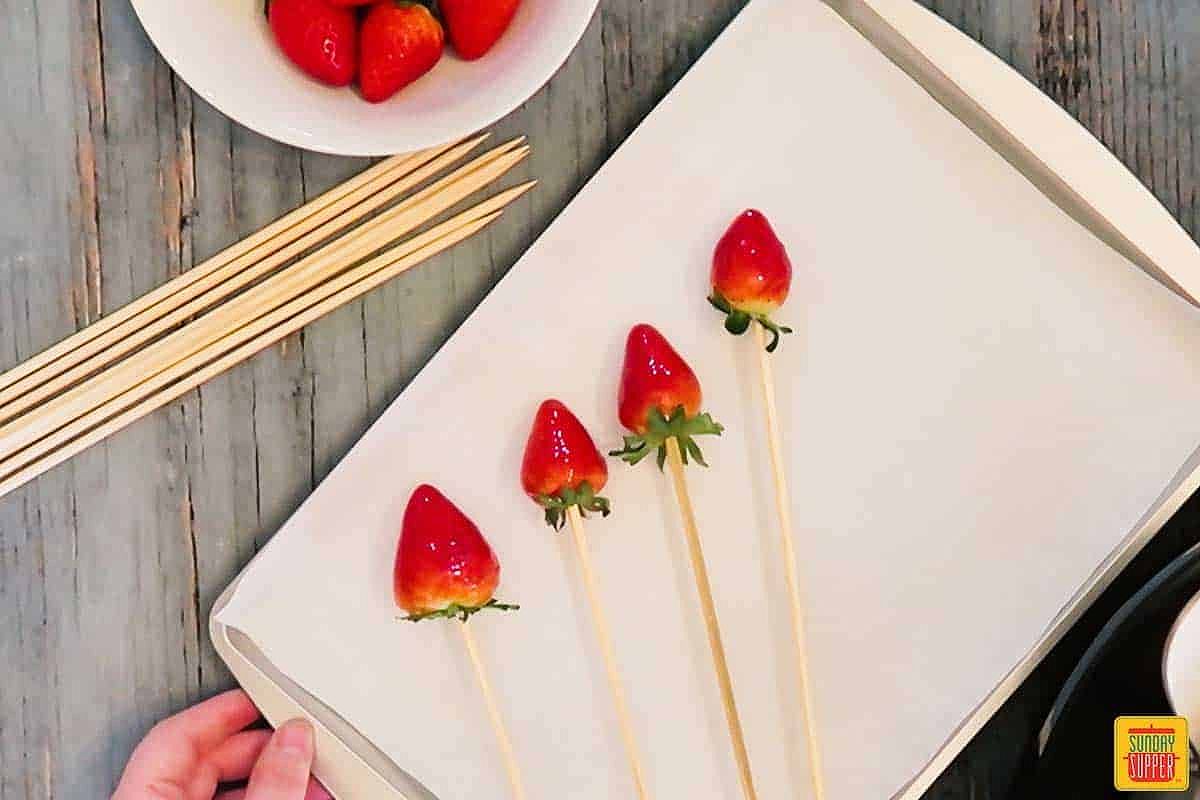
As the syrup reaches its optimal temperature, the real excitement begins. I carefully select the ripest, firmest strawberries, gently skewering each one with a wooden stick or toothpick, creating a canvas for my edible artwork.
Slowly and with the utmost care, I dip each strawberry into the hot, bubbling candy coating, ensuring an even and seamless coverage. The challenge lies in finding the delicate balance between complete immersion and the prevention of excess dripping — a skill that requires a steady hand and a keen eye.

As I place the coated strawberries on a parchment-lined surface, I watch in anticipation as the candy shell hardens, transforming the once-juicy berries into shimmering, crystalline delights. The contrast between the soft, luscious interior and the crisp, shiny exterior is simply mesmerizing, a testament to the power of patience and precision.
Customizing Your Candied Creations
One of the joys of making candied strawberries at home is the opportunity to experiment and personalize them to suit your unique tastes. I’ve found that a touch of extra flavor can elevate these treats to new heights, whether it’s a hint of vanilla extract, a zest of citrus, or even a splash of your favorite liqueur.
For a truly show-stopping presentation, I’ve also discovered the delights of drizzling the candied strawberries with melted chocolate or dusting them with a light coating of crushed nuts or graham cracker crumbs. The possibilities are endless, allowing me to create a personalized and visually captivating treat that never fails to impress my family and friends.

Savoring the Moment: Storing and Enjoying Your Candied Treasures
As tempting as it may be to indulge in these candied strawberries the moment they’re ready, it’s important to exercise a bit of patience. These delightful treats are best enjoyed fresh, ideally within a few hours of creation. If you need to store them for a short period, an airtight container in the refrigerator can keep them at their optimal crunch and shine for up to 24 hours.
When the time comes to savor these candied delights, the possibilities are endless. I love to enjoy them on their own as a standalone dessert, but they also make a stunning and unique topping for cakes, ice cream, or even a refreshing summer yogurt parfait. Whichever way you choose to indulge, the captivating combination of sweet, juicy fruit and crisp, shimmering candy will undoubtedly leave a lasting impression on your taste buds.
FAQ: Navigating the Candied Strawberry Journey
Q: Can I make candied strawberries without a candy thermometer?
A: While a candy thermometer is highly recommended for precise temperature control, you can use the cold water test as an alternative. Simply drop a small amount of the hot syrup into a bowl of ice water. If it hardens immediately, you’ve reached the necessary “hard crack” stage.
Q: Can I experiment with different flavor additions?
A: Absolutely! I love to get creative and put my own unique twist on the candy coating. Feel free to infuse it with vanilla, citrus, or even a hint of your favorite liqueur to complement the fresh, juicy strawberries.
Q: What if my candied strawberries aren’t hardening as expected?
A: If the candy coating isn’t hardening properly, it’s likely that the syrup didn’t reach the “hard crack” stage. Ensure the syrup heats to the correct temperature range, and work quickly to coat the strawberries before the mixture cools.
Q: Can I use this recipe with other types of fruit?
A: Definitely! This candied strawberry technique can be easily adapted to work with a variety of other fruits, such as grapes, blueberries, or even pineapple chunks. I’ve had great success experimenting with different seasonal offerings, so don’t be afraid to get creative and discover new flavor combinations.
Indulge in the Sweet Delights of Homemade Candied Strawberries
As the sun sets on another glorious summer day, I can’t help but feel a sense of excitement and anticipation. For me, the opportunity to craft these captivating candied strawberries is more than just a culinary pursuit — it’s a delightful journey of exploration, where I can unleash my creativity and delight my loved ones with a truly special treat.
Whether you’re planning a romantic picnic, a summer garden party, or simply seeking a moment of indulgence, I hope this guide has inspired you to venture into the world of candied strawberry-making. With a bit of patience, precision, and a whole lot of enthusiasm, you too can unlock the secrets to creating these shimmering, crunchy, and irresistibly sweet homemade delights. So, gather your ingredients, don your apron, and let’s embark on a sweet adventure that will have your taste buds dancing with joy!


